
Ricoh GR III
What Does D-Range Correction Do on the Ricoh GR III?
Learn how Highlight and Shadow Correction work on the Ricoh GR III, and compare them without losing sight of exposure and noise.
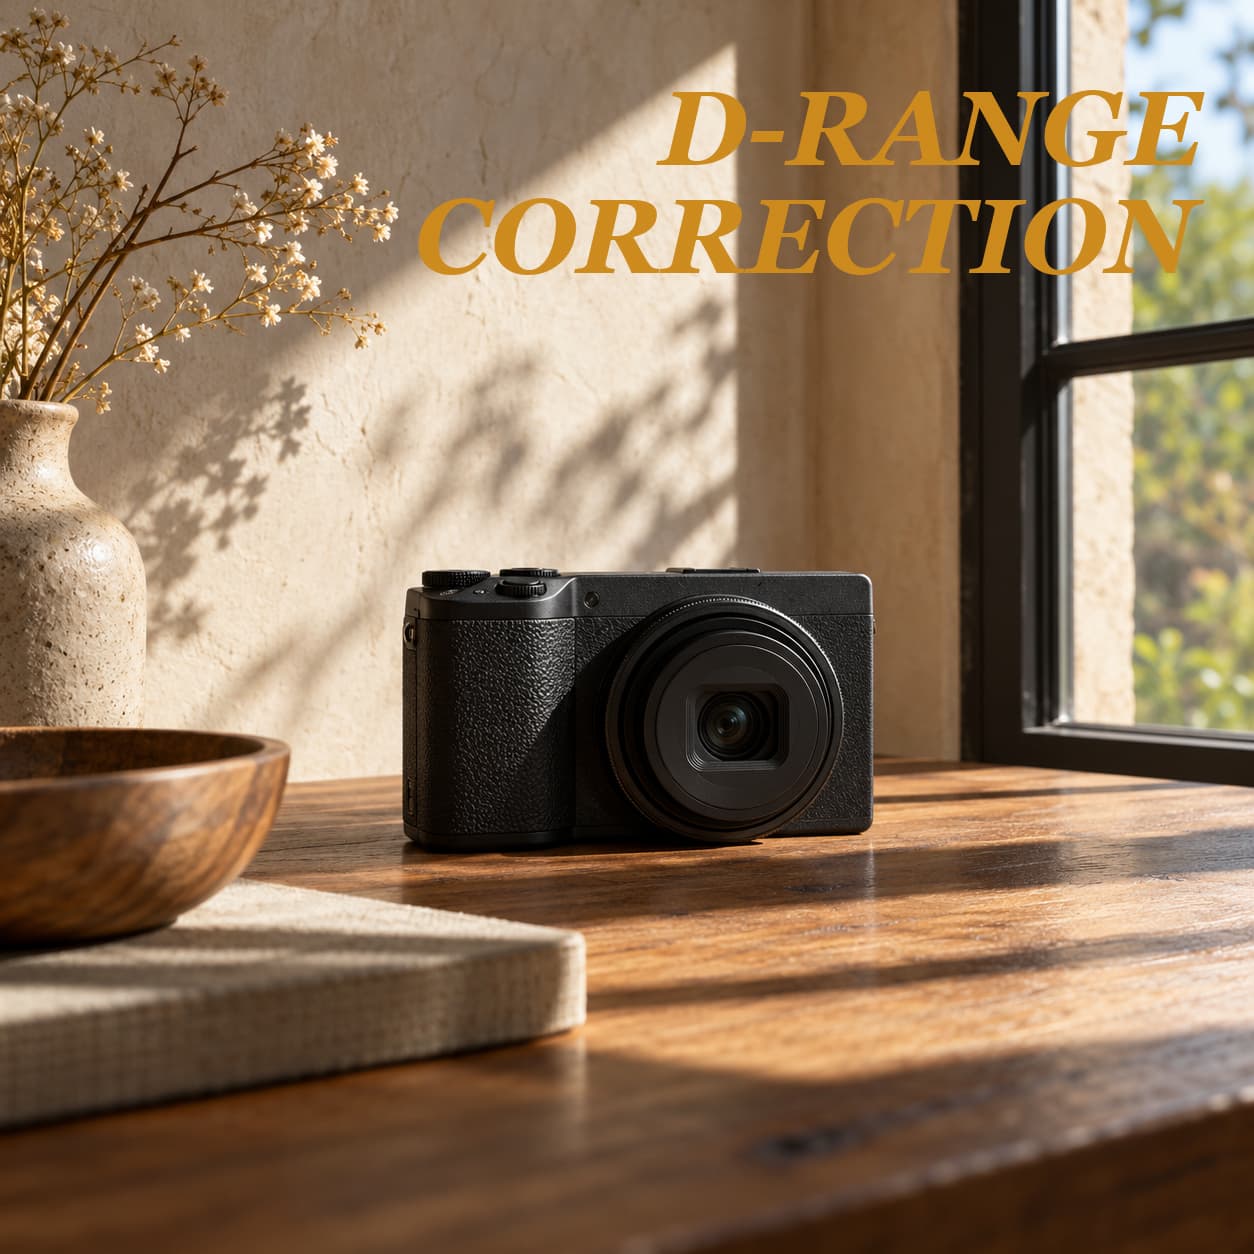
Bright windows and dark interiors can make a scene difficult to render the way you remember it. On the Ricoh GR III, D-Range Correction gives you separate highlight and shadow controls. They are useful tools to test, not a guarantee that every bright or dark detail will be recovered.
Find the two controls
Press MENU and open D-Range Correction in the A6 Image Process Settings menu for still images. Choose Highlight Correction or Shadow Correction. Ricoh's GR III manual lists Highlight Correction as Auto, On or Off; On cannot be selected in movie mode. Shadow Correction offers Auto, Low, Medium, High and Off.
Highlight Correction has no effect below ISO 200, according to Ricoh. If you compare it at ISO 100 and see no difference, that is an important setting to check before drawing a conclusion.
Start with the result you want
For a bright window or a light wall in the sun, try a frame with Highlight Correction off and another with it enabled, at ISO 200 or above. Compare the bright areas on a larger screen. For dark foreground detail, compare Shadow Correction off with a modest setting. Stronger shadow correction may make noise more noticeable; Ricoh specifically warns about the High setting.
Neither control replaces careful exposure. If a bright area is crucial to your image, review the frame and adjust exposure to suit the scene. There is no single setting that will suit every contrast level or creative intent.
Run a useful comparison
- Find a still scene with both a bright area and a dark area. Avoid changing light if possible.
- Keep the camera position, composition, exposure settings, white balance and Image Control consistent. Use ISO 200 or higher for the highlight comparison.
- Photograph the scene with both corrections off. Then change one correction at a time and make another frame.
- Compare the bright areas, dark areas and visible noise. Decide which rendering works for the photograph, not just which reveals the most detail.
- Return the settings to your preferred values before your next shoot.
If your camera changes exposure automatically, differences between frames may also reflect changing exposure. Use a stable scene and controlled exposure for a cleaner comparison.
Keep it separate from your recipe choice
A film recipe is a collection of image settings; D-Range Correction is another choice to check when recreating a look. If a recipe specifies these corrections, note them alongside the other settings. If it does not, test your preferred setting rather than assuming a missing value.
Takeaway: Try the two controls separately. For Highlight Correction, check ISO first; for Shadow Correction, weigh visible detail against noise and the mood you want.
Sources
- Ricoh GR III Operating Manual, p. 89: https://www.ricoh-imaging.co.jp/english/support/man-pdf/gr-3.pdf
- Ricoh GR III FAQ, Dynamic Range Compensation: https://www.ricoh-imaging.co.jp/english/support/qa/gr-3/